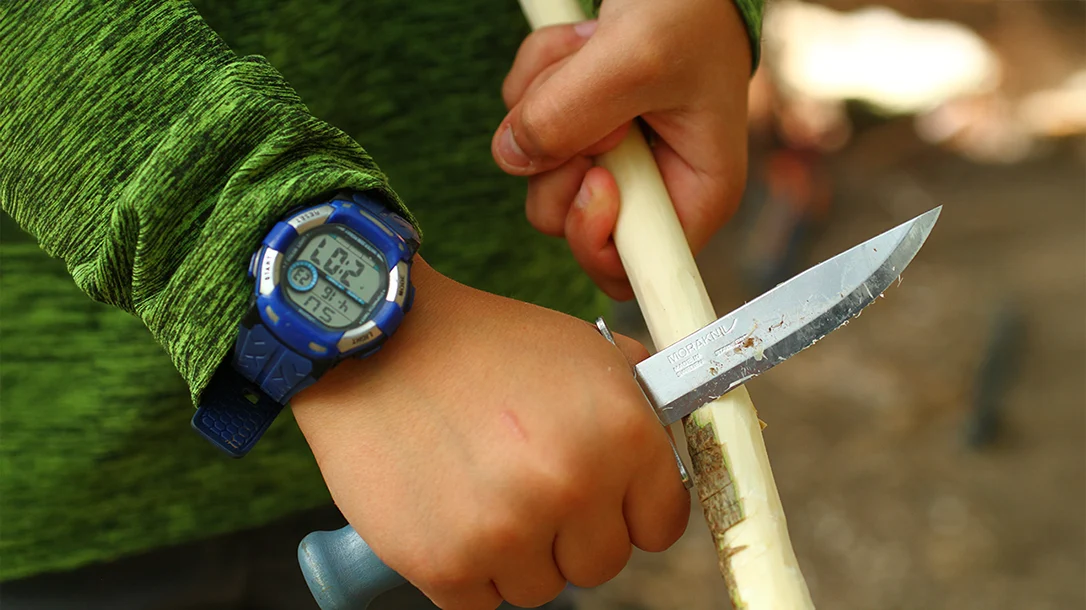
Learning about knife safety is crucial for kids. They must comprehend the risks of handling a knife and how to use it appropriately. This goes for the parents, too!
Why It’s Important for Kids to Learn Knife Safety
Many believe a knife would be the most useful if only one tool existed. A knife can be used to make various things, including other tools, to assist in a situation. However, receiving proper training in knife skills from experienced professionals or parents is critical.
Hey Parents
As we all know, teaching kids how to use a knife is a responsibility that should be taken seriously. It is crucial to prioritize safety rules, so children can understand the importance of respectfully handling knives. Knives are tools, not toys, and their proper use can be an essential life skill for children.
Advertisement — Continue Reading Below
Parents, guardians, and teachers should set a good example for children to follow. They should demonstrate the correct way to hold a knife, how to use it carefully, and how to store it safely when not in use. Children learn by watching our behavior. So, we need to emphasize the importance of safety rules when teaching them how to use a knife.
When teaching kids how to use a knife, choosing an appropriate type for their age and skill level is also necessary. A child’s knife should be small and easy to handle, with a rounded tip and a blunt edge. It’s essential to select a knife that fits the child’s hand comfortably, allowing them to have better control over it.
Advertisement — Continue Reading Below
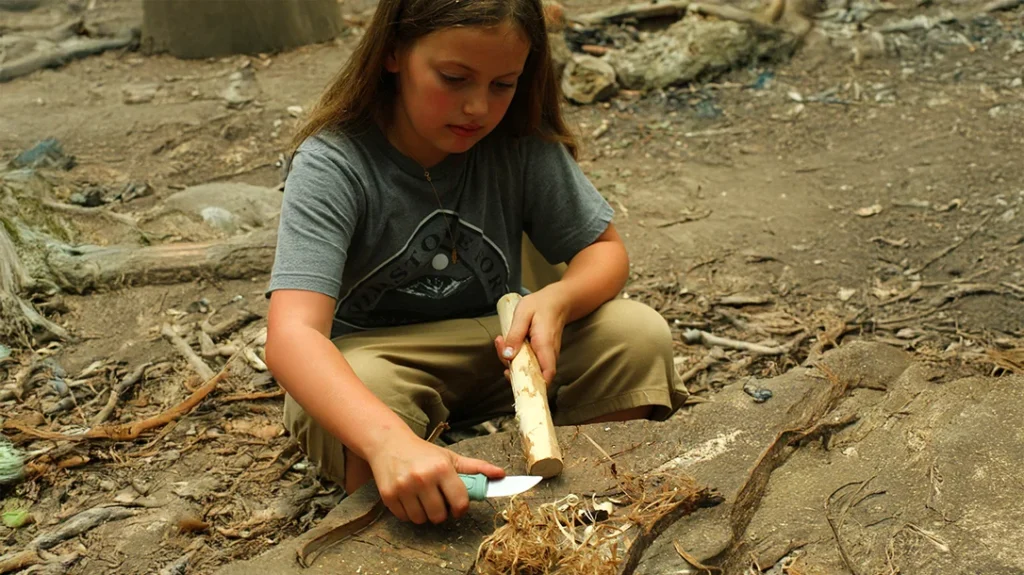
Moreover, children should be taught to use a knife in a safe environment. This means they should always be supervised while using a knife and have a stable surface to work on. It’s also a good idea to teach them how to keep their non-cutting hand out of the way to avoid accidental cuts.
Safety First
When using a knife, safety is of utmost importance. It is crucial to understand the basics to avoid injury and interruptions.
First, it is necessary to know how to handle a fixed-blade knife, from taking it out of the sheath to where to hold it. It is also important to be aware of your surroundings while using it.
Advertisement — Continue Reading Below
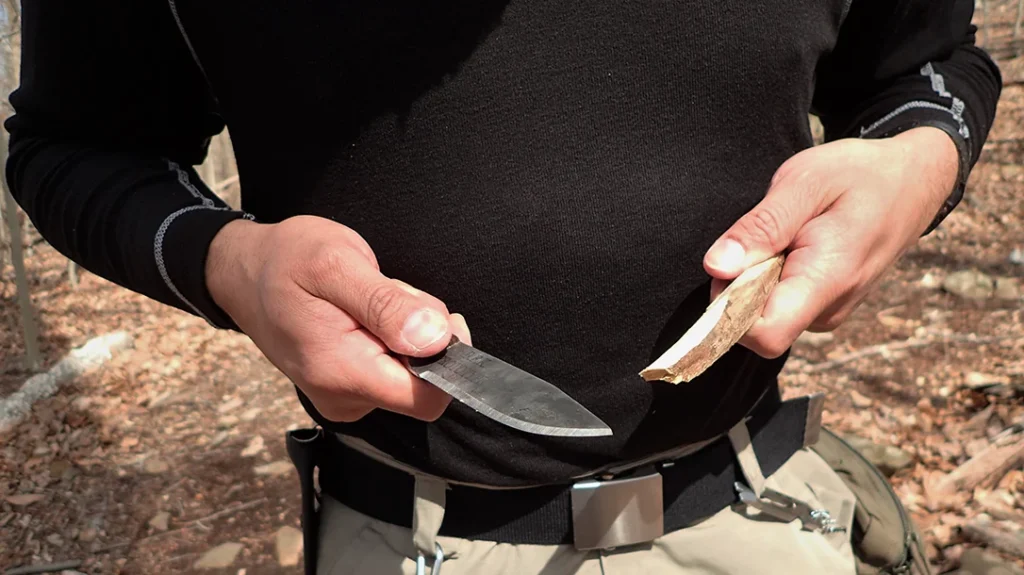
Passing a knife safely is equally important, as cuts can happen when sharing or passing knives to others. To do so, hold the knife in a natural position and pivot it back to offer the handle.
Important Note: Before letting go, ensure the receiver has a confident grip on the handle.
Advertisement — Continue Reading Below
The Boy Scouts are well-versed in the art of safety when it comes to handling knives and cutting tools. They teach the blood circle, which refers to the area within the combined radius of the arm and blade length. It is taught to ensure that users maintain a safe distance from their bodies.
Additionally, the blood triangle is discussed as a way of being safe when sitting and using a knife. Parents and instructors should be careful to impress upon their students, regardless of age, not to use their bodies as a backstop for cutting and to always avoid cutting near the arteries in their legs.
Knife Grips
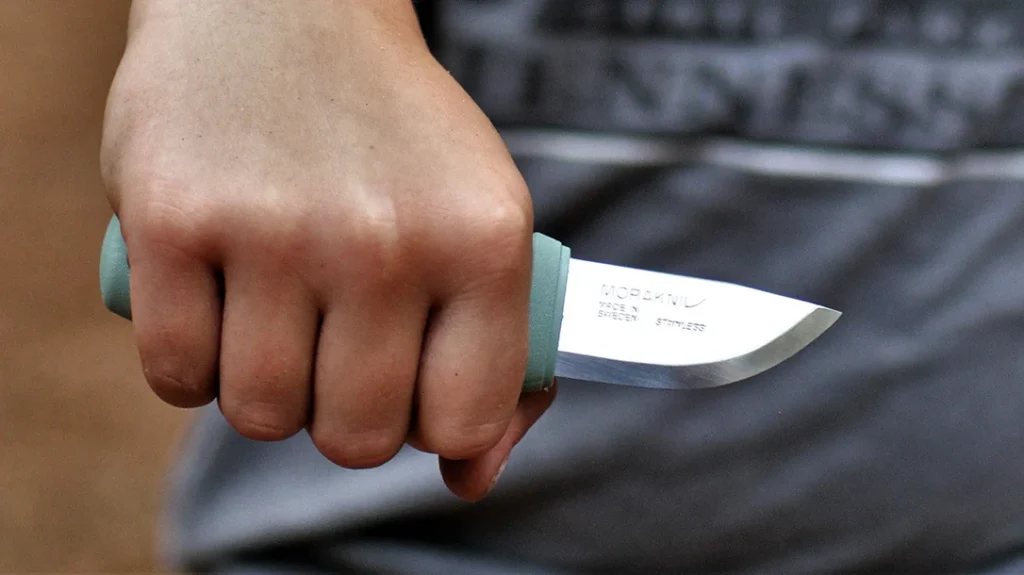
Forehand (Fist) Grip
When it comes to shaping wood, one of the most powerful and effective grips is the Forehand (Fist) Grip. This grip is natural, as it mimics how we would typically grasp and secure objects in our everyday lives.
Advertisement — Continue Reading Below
Like a closed fist, all fingers are curled tightly around the handle to achieve this grip. It’s important to note that the thumb should not be placed on the spine of the tool, which is an all-too-common habit.
To properly execute the Forehand Grip, it’s essential to lock your wrist and elbow in place while allowing your shoulder to do most of the work. You’ll need to move from the shoulder as if punching down through the surface you’re working on to achieve the desired result.
Advertisement — Continue Reading Below
The primary motion is similar to a slow, deliberate shrug of the shoulder, with controlled movements that allow you to make precise cuts and shape your material with ease. So, if you’re looking to make quick work of cutting and shaping wood, the Forehand Grip is definitely worth mastering.
Pro Tip: This is not a jarring of the elbow motion.
Thumb-Assisted Push Cut
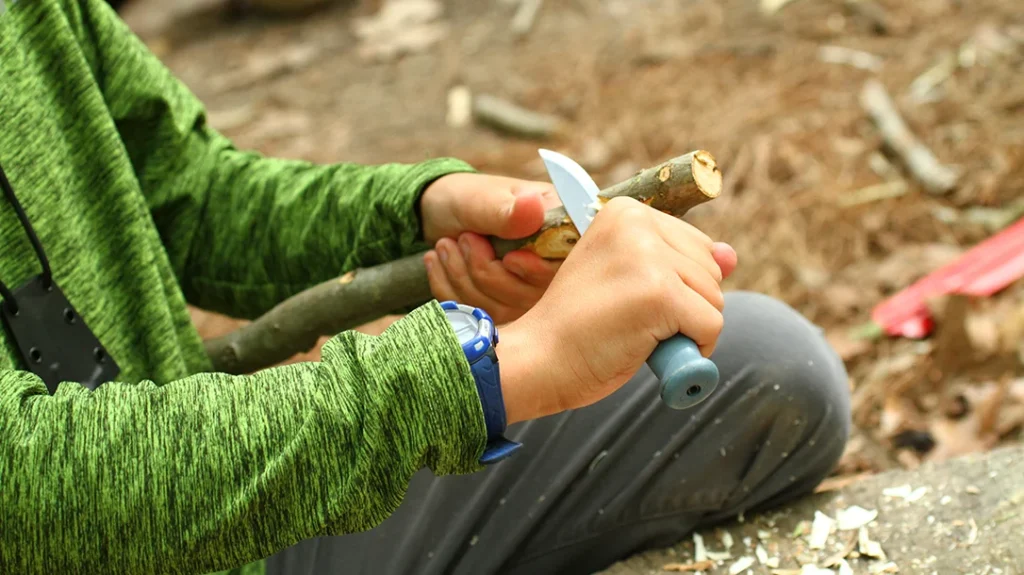
The Thumb-Assisted Push Cut is a type of grip that is also referred to as the scissor grip cut. When viewed from above, the knife and wood resemble the appearance and movement of scissors. It involves using the thumb of the non-cutting hand to assist in pushing the back of the knife into the wood. This creates a cutting motion similar to that of scissors.
This grip provides maximum control, a short cutting span, and soft to medium power. The thumb-assisted push cut is more controlled and detailed than the chest lever grip.
Chest-Lever Grip
For precision and power, the chest-lever grip is a must for bushcrafting. This palm-up grip allows you to use your lat muscles to create an incredibly controlled cut with maximum force by leveraging against your body.
Position the knife blade outward—away from you (to the right if you’re right-handed). Then, place one hand on top of the handle or side of the blade, keeping contact at all times with both hands connected near the ribs. Finally, simultaneously move your elbows in and out, as though performing chicken moves when walking.
This creates powerful cuts that can easily remove large amounts of wood quickly!
Batoning
When practicing bushcraft batoning, it’s important to remember that a knife is not a chopping tool due to its lack of weight. However, striking the back of the blade with a heavy object can make suitable cuts.
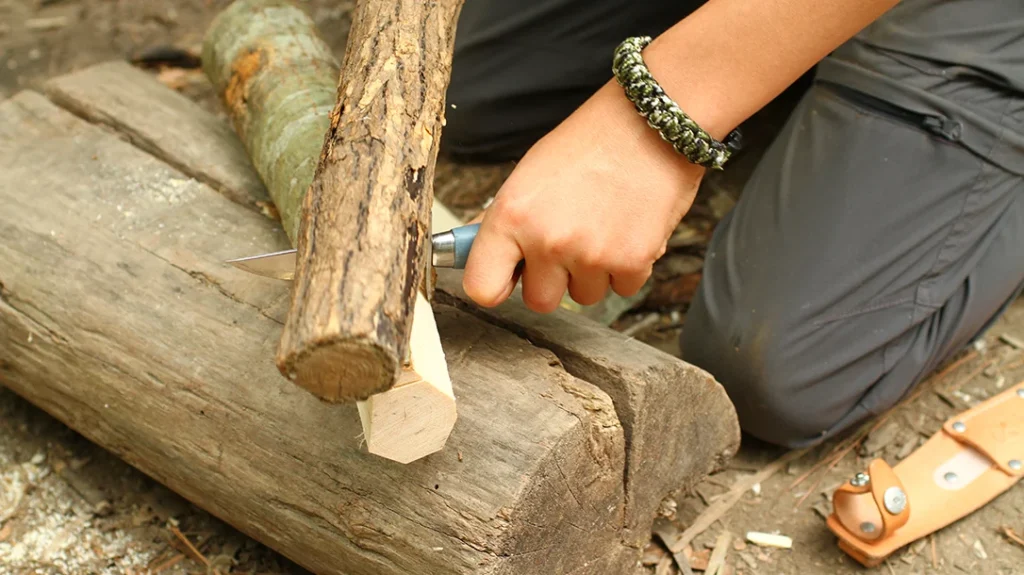
It’s recommended to use a stout, heavy stick that is comfortable to hold as a baton to assist with cutting down and limbing small trees. You can practice effective bushcraft batoning by using a baton for controlled cross-grain stop cuts, V-notches, and splitting wood that is no wider than your wrist in diameter.
Additionally, using a baton to limb branches off a standing or downed tree can be done quickly and safely compared to using an axe.
Two Knives For the Kids
The Scout model from Morakniv is back and better than ever before. With the refreshed and expanded series, the new Scout 39 models offer a wider range of colors, a new sheath, and a second blade option to cater to the needs of more advanced beginners while maintaining their safety features.
Given their extensive reach, it is no surprise that Mora has designed knives with young, first-time users in mind. The Scout 39 Safe was created with these users in mind. It offers similar performance to a “grown-up” Mora with added safety measures. A cross guard, a rare feature in the Mora lineup, keeps fingers away from the cutting edge. At the same time, the rounded tip prevents accidental pokes.
The renovated Scout models retain the original design and dimensions, with the classic Mora puukko blade shape measuring 3.3 inches long and made from stainless steel. However, unlike before, the Scout 39 now comes in additional variations instead of just the tipless “Safe” configuration.
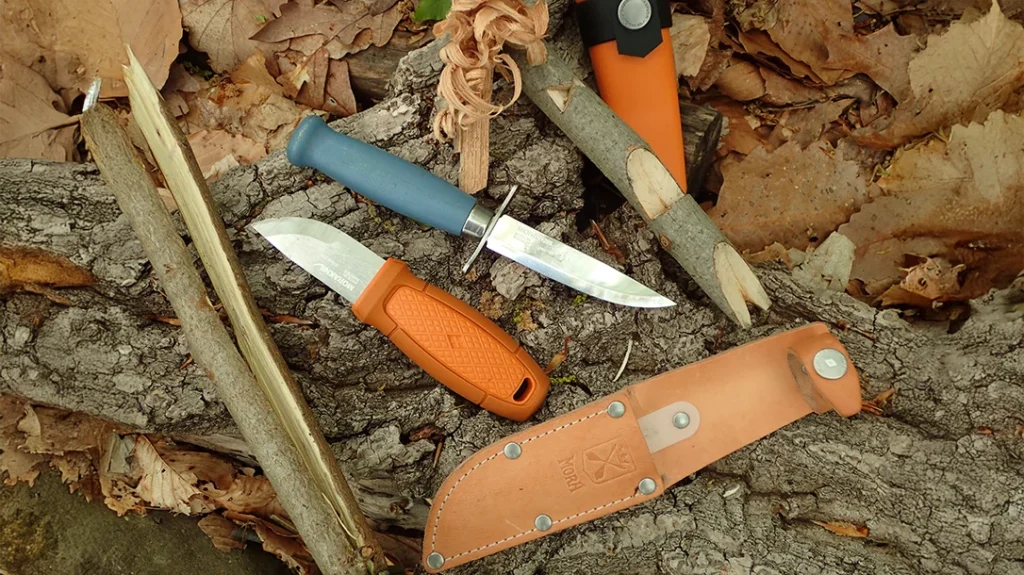
The Morakniv Eldris knife, launched in 2016, was a massive hit among bushcrafters, both new and seasoned. While not precisely oval, its egg-shaped design made it a popular choice to be worn around the neck.
The Eldris was originally created as a small, utility, bushcraft, fire-making tool. It has a Scandinavian (Scandi) grind at the base of the blade and a flatter belly-to-tip area ground more thinly. This makes it ideal for slicing vegetables and food. Its spine is sharpened at a 90-degree angle and is perfect for sparking with a Ferro rod.
MSRP: $29.99
Eldris LightDuty
The newer Eldris LightDuty has an unsharpened spine, a more subdued color scheme, and a consistent Scandi grind. The only significant differences between the two models are the finish and the absence of a compound grind. However, the Eldris LightDuty feels just as comfortable in hand as the original and is also 5.7 inches long with a 2.3-inch blade.
The knife boasts a durable 12C27 stainless steel blade with a drop point design. Its handle is constructed from a barrel-shaped polymer rubber material and coated in a non-slip TPE rubber for comfort.
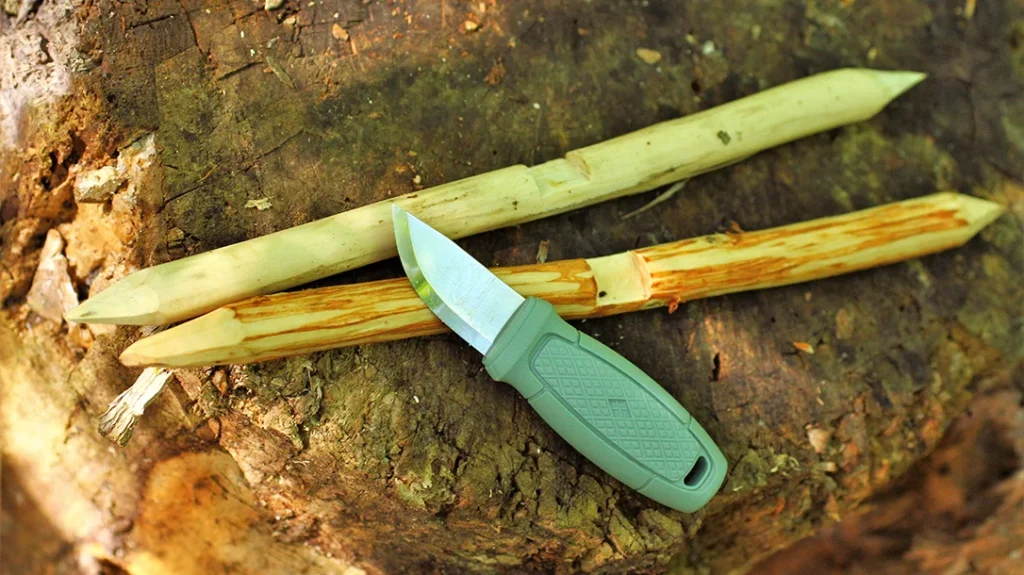
The blade is thin at only 0.8 inches (2mm), weighing 2.8 ounces. An ambidextrous polymer sheath is provided for safe storage and easy carrying, holding the knife securely in an inverted position.
MSRP: $26.99
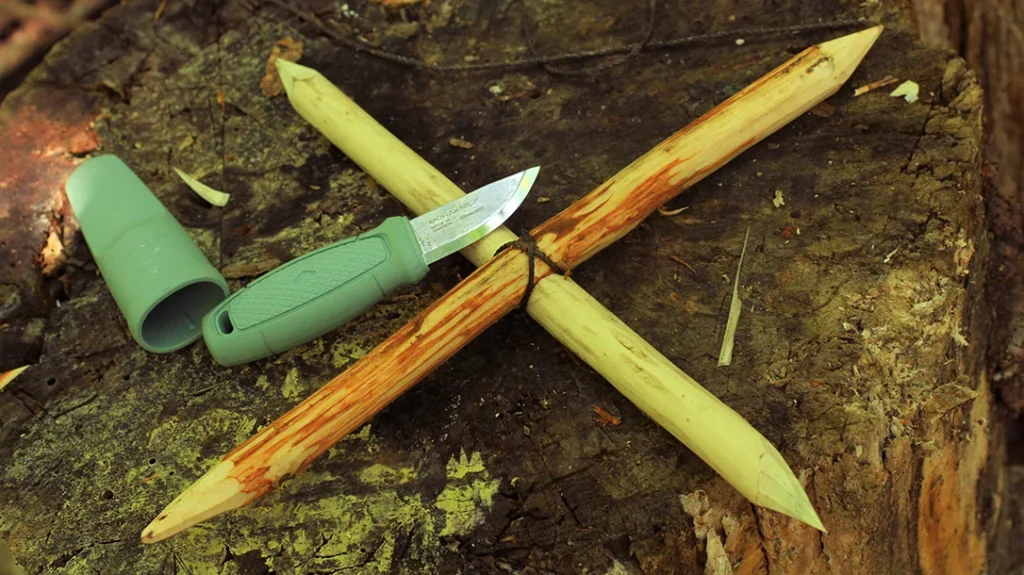
A Fun Project for Kids
Making an Apache Throwing Star with the Mora Eldris LightDuty:
- Gather your materials: two thumb-thick hardwood sticks and bankline (or paracord).
- Strip the bark from the hardwood sticks.
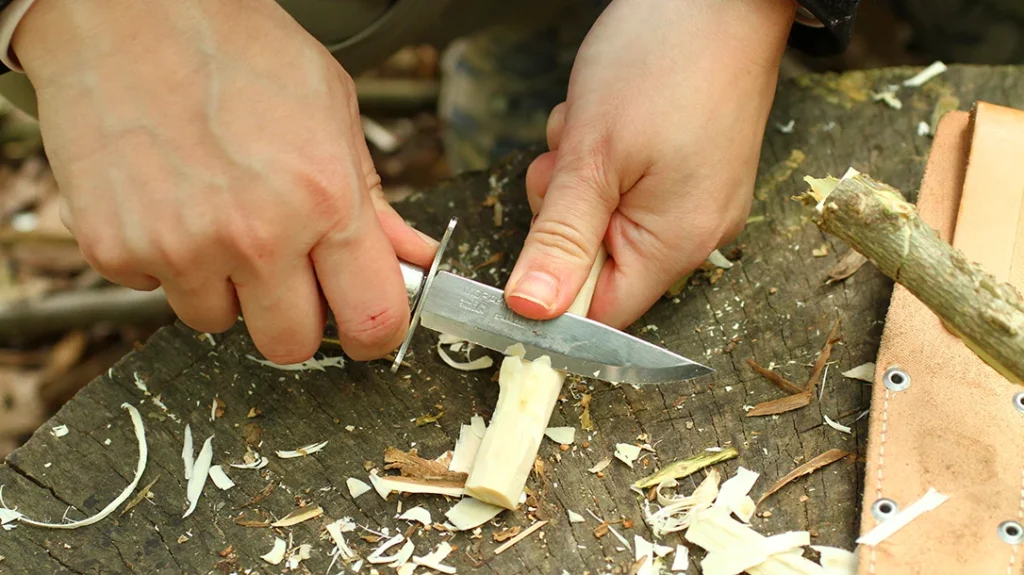
- Sharpen both ends of the sticks using the knife.
- Add a straight-notch (locking-notch) in the middle of each stick to join them together. Do this by creating two stop cuts about 1 inch apart and carving the section out on each stick.
- Tie the two sticks together using bankline or paracord and two jam knots to secure them tightly.
Remember to use safe grips to carve and notch the hardwood sticks. Practice throwing safely under the supervision of an adult!
In conclusion, teaching kids how to use a knife can be a valuable life skill. Still, it is crucial to prioritize safety rules when doing so. By setting a good example, choosing an appropriate knife, and creating a safe environment, we can ensure children learn how to use a knife safely and responsibly.
Final Thoughts: Why We Train
Survival skills training is vital for all individuals. While knife skills are a crucial aspect of outdoor skills, they are not the only ones. It is essential to continuously practice and improve outdoor skills, as they are diminishing skills, similar to a language.
Attending a course at a reputable survival school is an excellent starting point. Still, it is just the beginning of the journey. Improvement comes through consistent practice and learning from mistakes. As a student, I am constantly learning with no set graduation date.