When I teach Martial Blade Concepts (MBC) classes or work trade shows, one of the most common questions I get is, “What is the best self-defense knife?” My answer usually goes something like this: “First, consider the entire tactical knife market. Then, identify the number of knives that have matching factory-made trainers. That will narrow the field to less than one percent. Start looking there.” But, when there is a knife you really like, but there are no trainers, you can always make your own. The guide below will guide you through making your own “drone” training knife.
Making a “Drone” Training Knife from Start to Finish
If you are serious about carrying a knife for personal defense, you should be equally serious about training. The only way to develop sound defensive knife skills is to engage in realistic training with a partner. To do that, you need a training knife that closely replicates your live blade, allowing safe contact with another person.
If you carry a folding knife, your trainer should also be mechanically identical to it. That way, you can integrate your knife-deployment skills and tactics into a seamless flow.
Advertisement — Continue Reading Below
As logical as all that may seem, the fact remains that most tactical knife manufacturers don’t make trainers. Sadly, the few that do only make them for a tiny fraction of their product line. What do you do if your perfect self-defense knife doesn’t have a matching trainer? Easy. Buy two and “drone” one of them into a trainer.
“Drone” History
The term “drone” comes from bees. Drones are male bees who lack a stinger and don’t collect pollen to make honey. Their basic purpose is to mate with the queen. Since a drone can’t sting, this term is an apt description of a live-blade knife that has been rendered safe.
Advertisement — Continue Reading Below
It was first used by Spyderco back in the early 1990’s, when they purposely blunted some of their Delica models for Erik Remmen’s CLIPIT® courses.
Before purpose-designed folding trainers became a thing, I also droned live blades to create trainers. The safety of those trainers, however, was very dependent upon the blade’s grind and behind-the-edge thickness. The thicker the blade behind the edge, the more surface area I could create when I ground it smooth. Saber-ground blades made reasonably safe trainers, while full-flat and hollow-ground blades were less so.
After years of experimentation, I came up with the idea to “thicken” the contact surface of the edge and point with aluminum tubing. Brass tubing also works, and a solid aluminum rod is even better.
Advertisement — Continue Reading Below
The trick is to cut a groove down the length of the tube or rod so it can be glued to the blade’s former edge and point. Once in place, it offers a wide surface area that makes contact as safe as a thick-bladed, purpose-designed trainer.
A DIY Drone, Step by Step
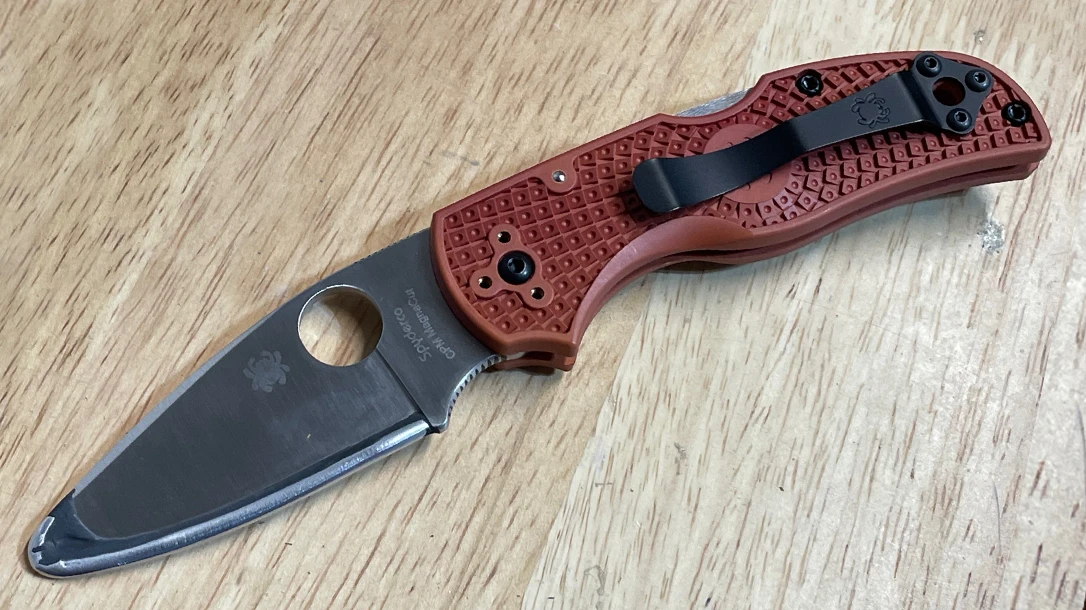
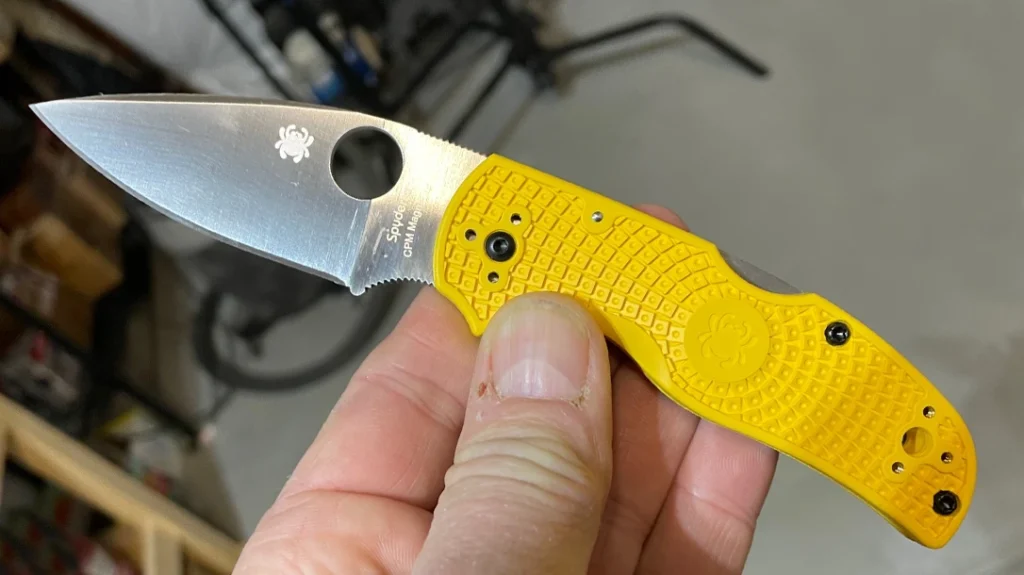
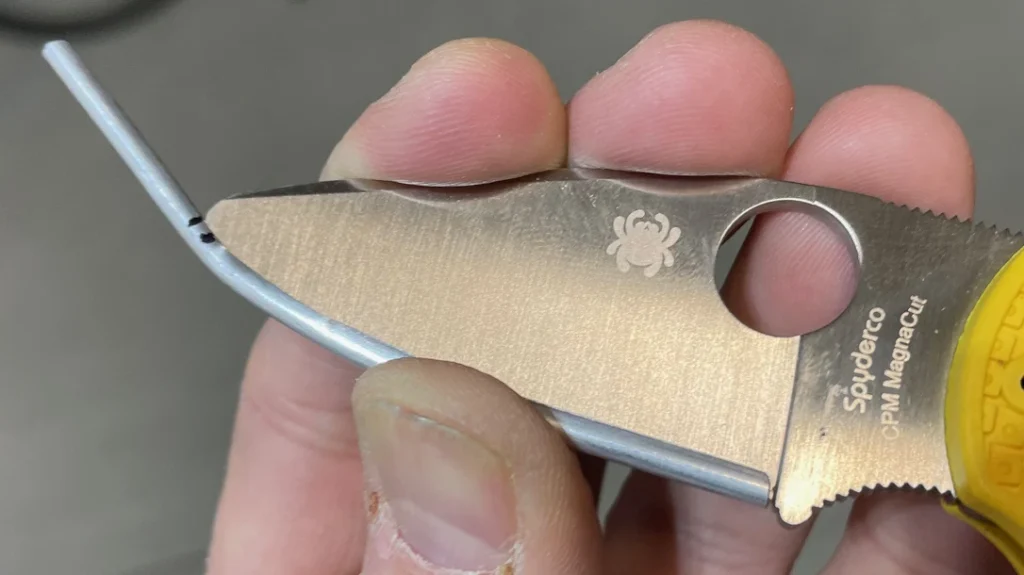
To illustrate the drone-crafting process, let’s take a look at a Spyderco Native 5 Lightweight Salt. One of my MBC students carries a Native 5 Lightweight as his primary defensive knife and desperately wanted a trainer. I chose the Salt version because its yellow handles could be dyed red for easy identification as a trainer.
The first step was to grind the edge off the blade, taking it to a blunt flat about as dull as a butter knife. I used a 2X48 belt grinder and a 240-grit belt. However, careful work with a Dremel tool would also do the job.
Advertisement — Continue Reading Below
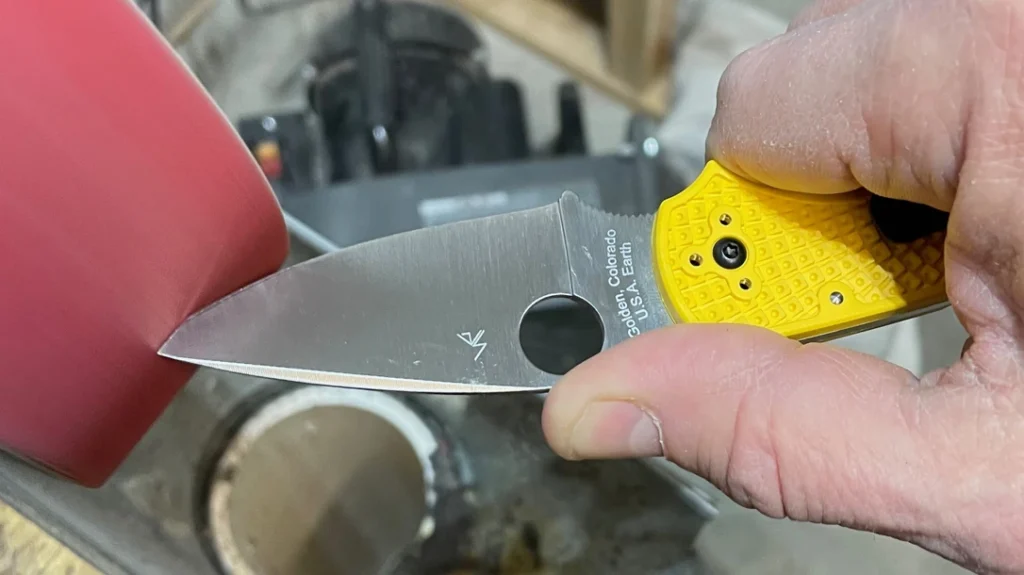
The Native 5’s full-flat grind allowed me to grind the blade to about 0.050-inch thick without narrowing it excessively. I also rounded the blade tip to a radius of about 0.125-inch. I left all the ground surfaces rough to allow the glue a better grip on the steel.
Covering the Blunted Edge of Your Training Knife
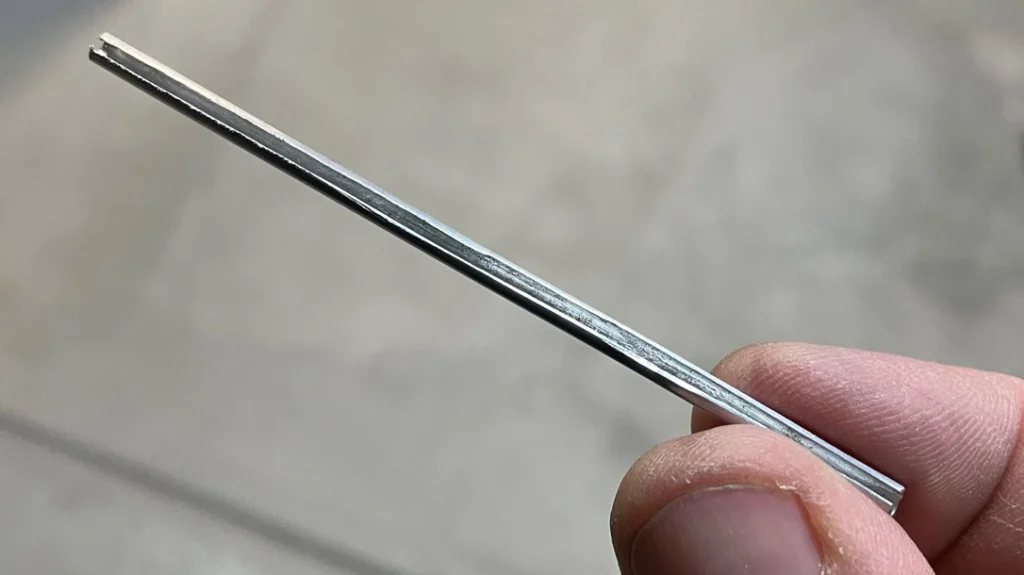
Next, I got a 12-inch piece of 1/8-inch aluminum hobby tubing from the local hardware store. The outside diameter of this tubing matched the Native 5’s blade thickness of 0.125-inch, so the blade would close properly. I gently bent the tube into an “L” shape in the middle. That way, one leg of the “L” provided a handle and vertical reference while cutting a slit in the other leg.
Advertisement — Continue Reading Below
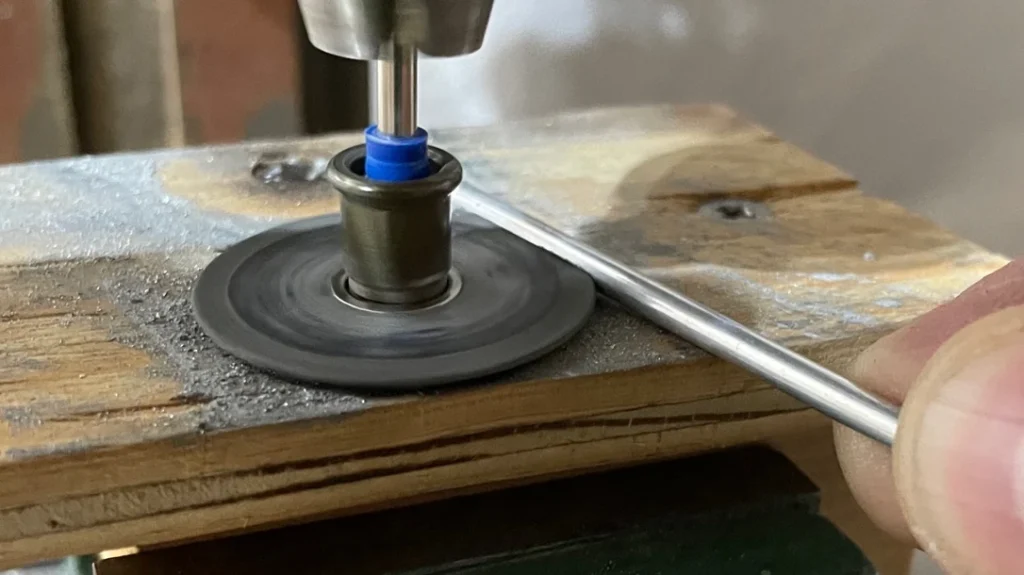
To slit the tubing, I used a Dremel cutting disc chucked into a drill press. I clamped a piece of wood in the drill press vise and lowered the disc until the center of the shaft just touched it. This gave me a vertical standoff half the diameter of the tubing.
Advertisement — Continue Reading Below
Working carefully, I cut a slit in one side of the tubing about an inch longer than the blade. Keeping the “handle” end of the tubing vertical helped keep the cut well centered along its length. With the tubing slit, I cut the tubing to length and carefully dry fit it to the curve of the blade’s edge. I also cut a couple of small notches with a jeweler’s saw to allow the end to bend around the tip.
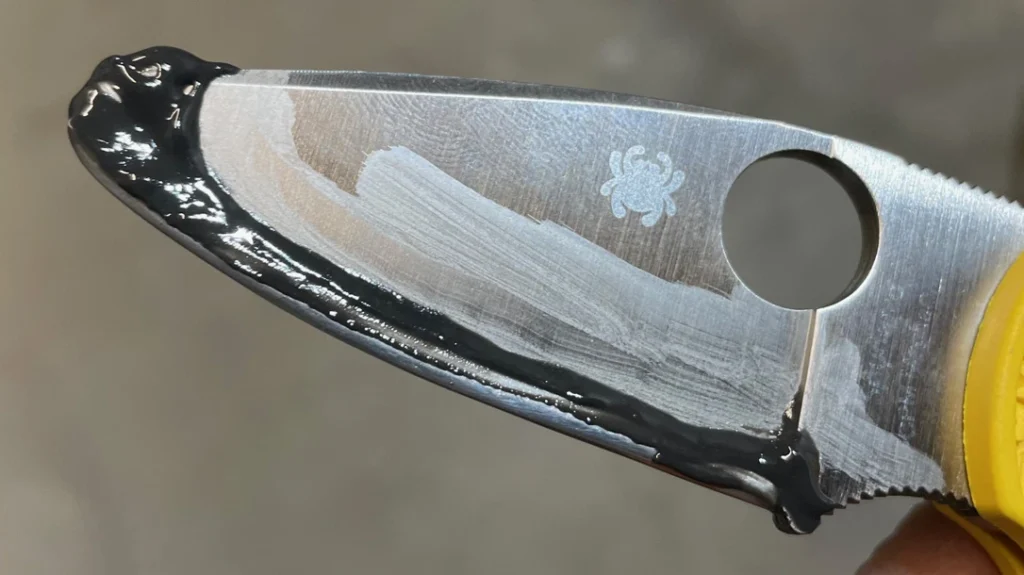
With the tubing bent to shape, I cleaned it and the blade with rubbing alcohol. I then mixed up some JB Weld steel-reinforced epoxy, applied it to the blade edge, and slipped the tubing in place. Using a cotton swab, I spread it evenly along the seams between the blade and the tubing. Finally, I clamped the knife in the vise and let the epoxy cure completely.
Advertisement — Continue Reading Below
Cleaning Up the Blade
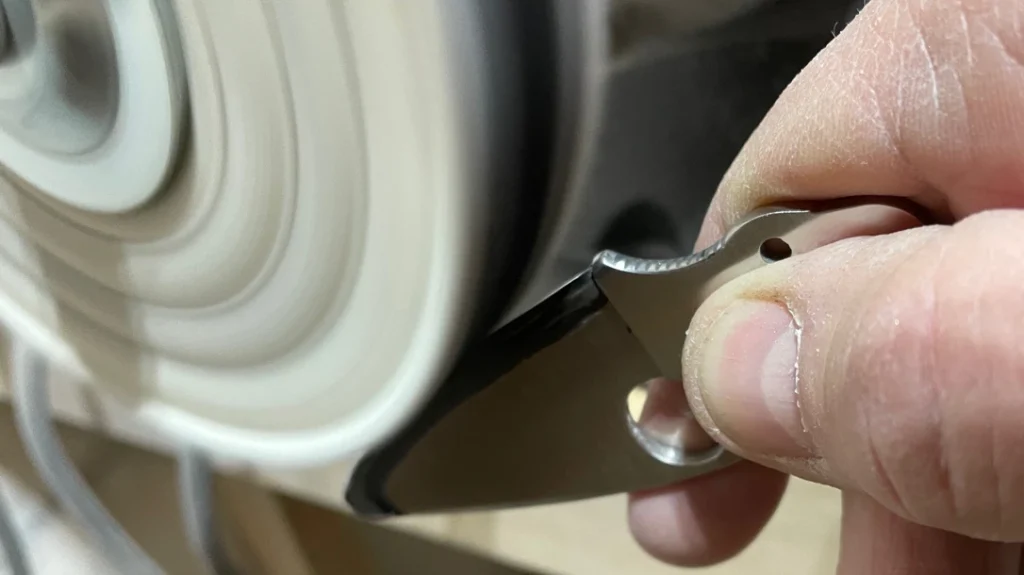
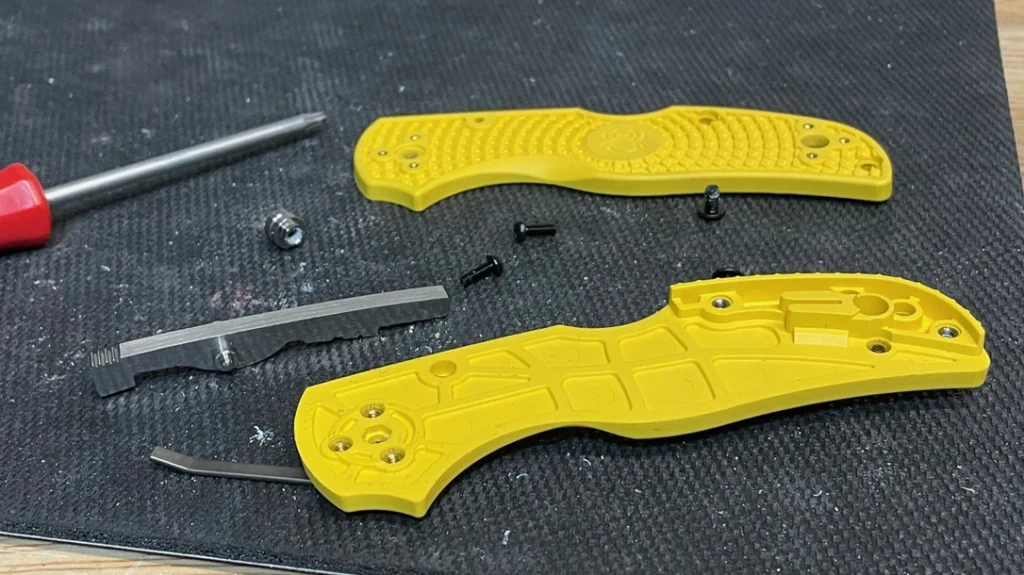
After the JB Weld hardened, I completely disassembled the knife. I clamped the blade in a vise and used a Dremel tool and sanding drum to smooth the finger choil. Using narrow strips of 220-grit wet-dry sandpaper, I then “shoeshine” sanded the excess epoxy from the sides of the tubing.
Repeating the process with 320 and 400-grit sandpaper, I removed all corners that could scratch a training partner. As a finishing touch, I used a buffing wheel to polish the contact areas of the tubing.
Advertisement — Continue Reading Below
Seeing Red
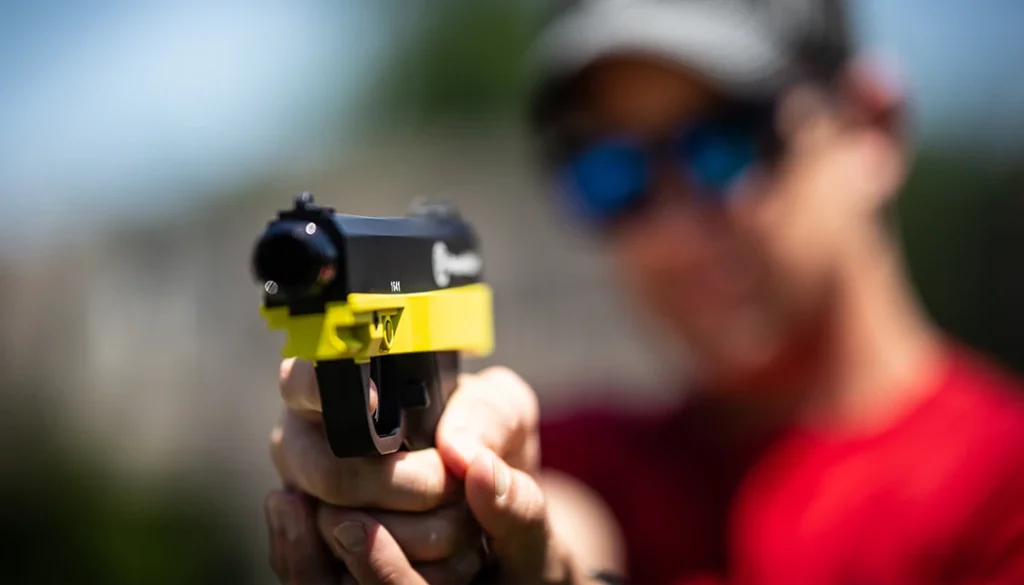
A good training knife should be instantly recognizable on the training floor. A bright red or orange handle is a great way to achieve that. Since the Native 5’s handle scales are made of injection-molded nylon, they are easily dyed with ordinary RIT clothing dye.
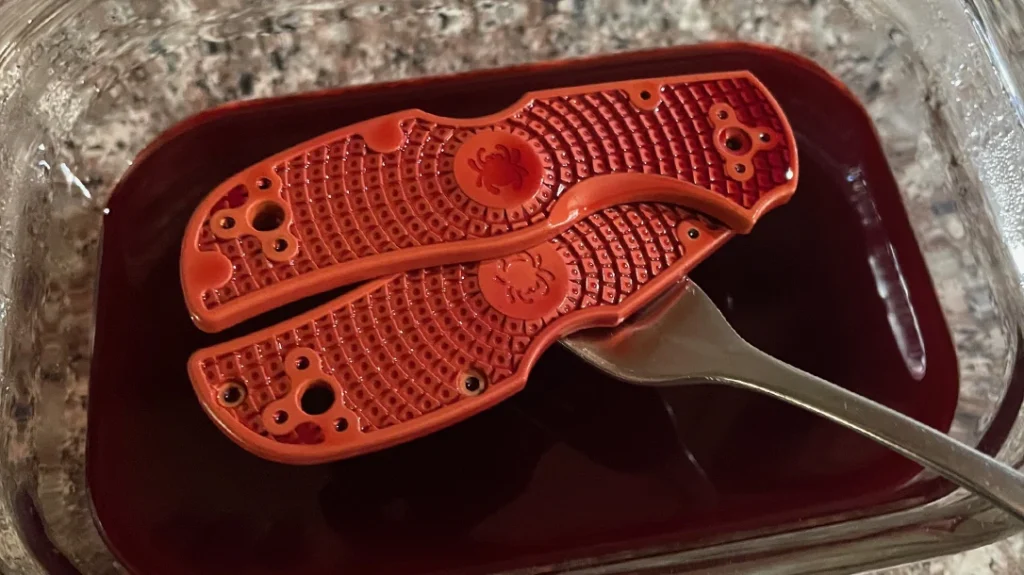
I soaked the Native 5’s factory yellow scales in red dye, vinegar, and water until I achieved the desired color. If your knife’s scales are dark, clean them with alcohol and spray paint them red. Whatever you do, make sure your trainer is visually different from your live blade!
With all the parts complete, the final step was to reassemble the knife properly. Once back together, I made sure the blade folded into the handle without rubbing or hindering its opening. I also carefully inspected everything again to confirm there were no sharp edges or corners. As a testament to my work, I volunteered to be the first on the “receiving end” of it.
The Training You Need with your DIY “Drone” Training Knife
Making a drone trainer is an investment of time, effort, skill, and money. After all, your starting point is a fully functional live-blade twin of your carry knife. However, for knives that don’t have factory-made trainers, it’s the best way to get the tool—and the training—you need.
WHY OUR ARTICLES/REVIEWS DO NOT HAVE AFFILIATE LINKS
Affiliate links create a financial incentive for writers to promote certain products, which can lead to biased recommendations. This blurs the line between genuine advice and marketing, reducing trust in the content.