In today’s world, you never know what may happen. Circumstances change from one day to the next; that is one of the many reasons it is so important to be prepared in all aspects of life.
One of the best ways to be ready is to be self-sufficient in your food supply. Hunting and fishing in season helps; however, gardening is a way to be self-reliant, and you can do that all year round, indoors or outdoors. Once you initially start your garden, it gets less and less expensive to maintain.
Advertisement — Continue Reading Below
What is a Survival Garden?
The beauty of gardening is that you can make it what you want. The most successful gardens are the most efficient ones. Once your garden gets going, you can easily maintain it with supplies you already have.
The point of a survival garden is to keep it low-key and inexpensive, and to provide you with food right in your own backyard. When initially gathering supplies, make sure you consider the space you have to set up your garden. The area where your garden will be will help determine what you plant and where.
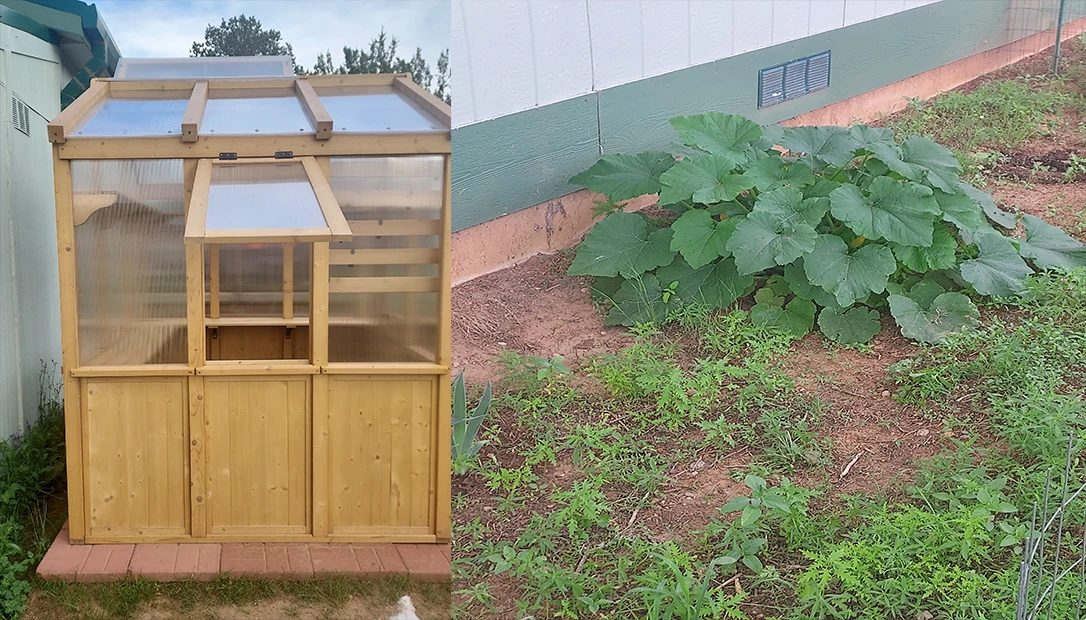
For example, if your setup is in your backyard, map out the space you intend to use so you can plan ahead of time where you will plant certain plants or seeds. Some plants require more space than others. For instance, root vegetables need to be in rows and spaced apart, since their produce grows underground. Other plants, such as squash or those with vines or tendrils, tend to stretch out. It is important to ensure these types of plants have room to grow to their full potential and do not limit the growth of other plants. If a squash plant is too close to another plant, it may end up invading that other plant’s space.
Advertisement — Continue Reading Below
Pests are another aspect to consider. Pests come in all forms, including deer, elk, rabbits, gophers, and insects. The type of pest you may encounter will depend on where you live.
If you intend to grow your plants indoors, there are other aspects to consider. For instance, if you want to grow a garden indoors, a hydroponic setup may be a good option. However, no matter what type of gardening system you use, you need to ensure the garden gets good sunlight.
Set up Options
If you plan to set up your garden outdoors, consider how big or small you would like it to be. In addition, if you have pets, be sure to section off the area of the yard where you plan to have your garden. You can use wire, such as chicken wire, and stakes to secure the wire. If you have dogs that like to chew items, it is best to go with metal stakes; otherwise, your plastic stakes won’t last long.
Advertisement — Continue Reading Below
The Perfect Soil
It is also best to check the soil itself. Not all soil is the same, and some soil can make it difficult to grow your survival garden successfully. What are you looking for when you test soil? You want to look for acidity, alkalinity, and pH. If your soil has too much of these, you may need to balance it out. To test your soil, the best tool is a soil thermometer. These generally test moisture and pH levels. The neutral number for pH in soil is around 7. If your soil reads seven or close to it, it is best to leave the soil alone; your crops should do just fine.
There are ways to help balance out those levels. These include adding lime, compost, or mulch. What you add and how much will depend on the pH level, as well as other soil factors, including acidity. You can also test your pH or alkalinity by adding two tablespoons of soil to half a cup of vinegar. If the mixture fizzes, it means the pH or alkaline level is too high. To test for acidity, take a little soil, add distilled water, and add half a cup of baking soda. If the mixture fizzes up, there is too much acid in your soil. Just as with alkaline levels, you can balance them by adding lime, compost, or mulch.
Advertisement — Continue Reading Below
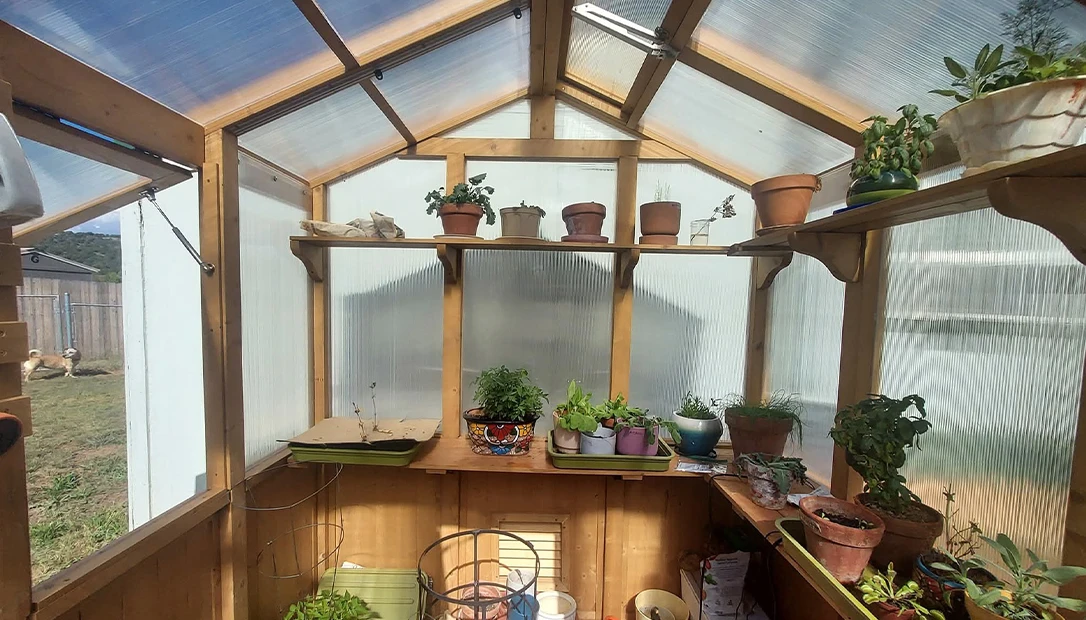
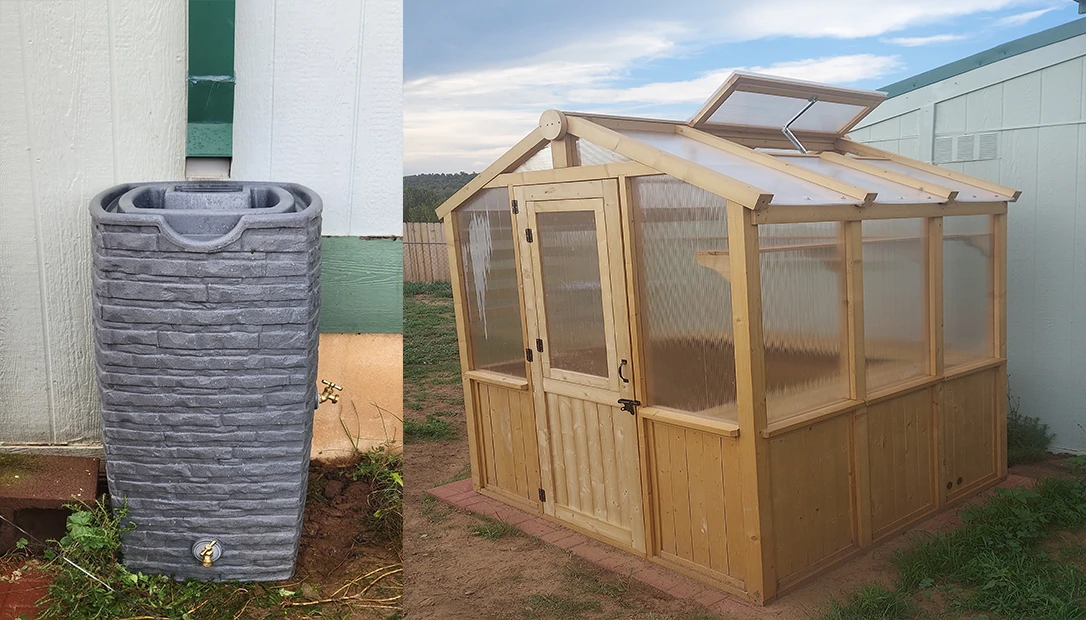
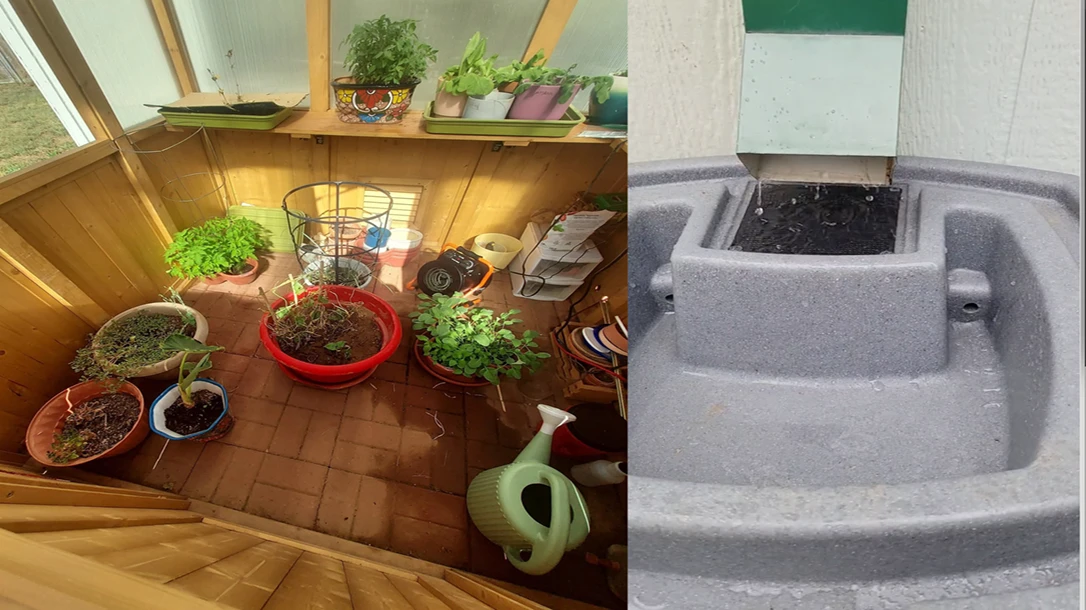
The Greenhouse Option
Other setup options include a greenhouse, designed with windows that refract light to provide the most efficient light for plants all year round. If you go the greenhouse route, make sure the greenhouse base is concrete or brick. Brick retains heat better and is the best option for year-round use.
Greenhouses also need to be able to ventilate, so ensure some vents or windows can open when the temperature gets too hot. Most plants are happiest in the 65-85 °F temperature range. Any temperature above 85 °F may be harsh on plants. If you are going to use fans, ensure your setup is safe and that the electrical wiring is installed correctly.
In the colder months, it is vital to ensure plants are not exposed to temperatures below freezing. Most plants do best at temperatures around 45 degrees or higher. In winter, you may need to add insulation to your greenhouse, which can be as simple as plastic sheeting and packing tape. It is advised not to use any material that blocks light; your plants need it. If you live in a climate with extreme winter cold, you can install a heater in your greenhouse.
Advertisement — Continue Reading Below
If you go this route, ensure that it is thermostat-controlled so it’s not on all of the time. It is also extremely important to ensure the heater is not a fire risk. This means checking it often, not leaving it on all the time, avoiding extension cords, and not leaving it on overnight. It’s best to heat the greenhouse at night, unplug the heater before going to bed, and check on it in the morning.
Climate and Seasons
Even in winter, you should not need the heater during the day, as the greenhouse will heat up just from the sun. It can be 45 degrees outside, and your greenhouse can maintain a temperature of 65 degrees or higher throughout the day.
Finally, you can also consider hydroponic gardening, which is exactly what it sounds like: water and light only. This setup requires the plants to be indoors and in tanks with a pump that circulates water, like a fish tank. Aside from the initial setup, this gardening method requires the least maintenance.
Advertisement — Continue Reading Below
What to Plant and When
When you plant your seeds or plants, it is especially important to consider timing when planting outdoors. Late spring and early summer are always the best times to plant seeds or plants. For a survival garden, it is most efficient to plant from seed.
To get your outdoor garden ready, till the soil first, map out where each plant will go, and add potting soil to your regular soil. Plants do best with a mix of both. If you have struggles with weeds taking over your garden, consider using weed-restricting material before planting seeds.
Once planted, water your plants daily for the first few days. If you are unsure whether you are watering too much or too little, use a soil thermometer to check the moisture level. You can also tell, once your plants begin to grow, by checking the leaves themselves. If the leaves are speckled with white dots, it means there is too much water in the roots.
Advertisement — Continue Reading Below
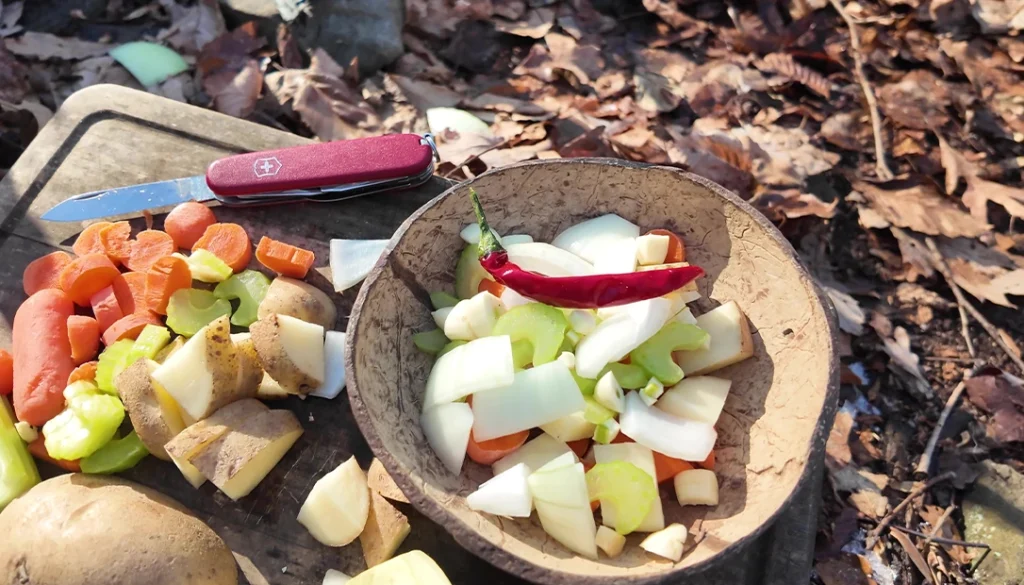
The best survival garden will include produce and root vegetables. Once you start your garden and begin harvesting, be sure to keep the seeds from the produce, dry them, and save them to plant later. This way, you do not have to buy seeds every year.
Watering and Compost
When it comes to watering your plants, the best water is rainwater. You can catch rainwater in 5-gallon buckets or invest in a rain barrel. When choosing a rain barrel, there are many options, allowing you to select the best one for your garden’s needs. You can also make one by getting a large, plastic drum and setting it up to catch rainwater from your gutter. To extract the water, you can use a PVC pipe or set up a hose attachment to the drum.
Advertisement — Continue Reading Below
If you decide to use compost, you can start your own compost pile by saving coffee grounds, eggshells, or vegetable scraps. Designate an area in your yard just for compost, ensure it’s not accessible to animals, and once some of the compost scraps have visibly broken down, use a shovel to turn the soil. Compost is a great, inexpensive way to add extra nutrients to your plants. Once you begin using compost, it is important to check the pH and acidity of your soil regularly.
No matter how you choose to set up your survival garden, you won’t regret it. Once you get it going, you can have an entire produce section in your backyard at little cost.